So far in this series, everything we’ve covered has been geared around the cheapest and easiest possible means of getting on the air: getting your Technician license, buying your first low-end portable transceiver, and checking in on the local repeater nets. That’s all good stuff, and chances are you can actually take all three of those steps and still have change left over from your $50 bill. Like I said, amateur radio doesn’t have to be expensive to be fun.
But at some point, every new ham is going to yearn for that first “real” rig, something with a little more oomph in terms of power, and perhaps with a few more features. For many Technicians, the obvious choice is a mobile rig, something that can be used to chat with fellow hams on the way to work, or to pass the time while on long road trips. Whatever your motivation is, once you buy a radio, you have to install it, and therein lie challenges galore, both electrical and mechanical.
I recently took the plunge on a mobile rig, and while the radio and antenna were an order of magnitude more expensive than $50, the process of installing it was pretty cheap. But it’s not the price of the thing that’s important in this series; rather, it’s to show that ham radio is all about doing it yourself, even when that means tearing your car apart from the inside out and rebuilding it around a radio.
Choosing a Rig
Whatever radio you end up buying is going to depend entirely on how you plan to use it. Technicians will probably want a dual-band radio that covers the 2-meter (VHF) and 70-cm (UHF) bands, which will give you access to local repeaters. Features and quality vary by brand, but if you stick with one of the “Big Three” – Yaesu, Kenwood, and ICOM – you’ll get good value for the money. Alinco probably belongs in there, too, and you can find decent mobile rigs that are higher-power versions of the much-derided “cheap Chinese handy talkies” that are available for not much more than $50.
My choice was a Yaesu FT-8900R, a now-discontinued quad-band radio. In addition to the usual UHF and VHF bands, the 8900 also has 6 meters, known as “The Magic Band” because it can be worked in so many different ways, and 10 meters, which offers some interesting options for simplex, repeater-less, communications. Technicians have access to all of the 6-meter band, but only a small slice of 10 meters, and then only using single-sideband voice. The FT-8900R is an FM-only transceiver, but since I have my General class license, I can use it on the 10-meter band. The radio can also be set up as a cross-band repeater, which holds some interesting possibilities for me.
Almost all FM mobile ham rigs these days are digital, and many of them support one or the other of the digital modulation schemes, like System Fusion and DMR. Many have support for the Automatic Packet Reporting System (APRS) built-in, which lets you report information like your GPS location automatically. The manufacturers have responded to the market in offering as many or as few bells and whistles as possible, so whatever you want, chances are good that someone makes it. Strangely, mobile rigs are the one area of ham radio where there’s not a lot of homebrewing, although there is an active community that repurposes old UHF and VHF business band radio for ham use. But most people just buy a well-engineered COTS radio and use the installation to express their homebrew creativity.
Planning the Install

And let me tell you, modern cars and trucks require a LOT of creativity and ingenuity to achieve a clean, professional installation. I started doing mobile installs many years ago, when cars had much more metal in them and far fewer electrical components and wiring harnesses. Back then, it was easy to find a reliable ground, and you never had to work around airbag computers, seatbelt pre-tensioners, and infotainment components. Modern cars are a lot more challenging to do installations in, but they’re a lot more fun too, since you get to marvel at the skills of engineers who design pieces that can be assembled quickly with minimal tooling, and then curse their names while you try to disassemble something with no visible fasteners.

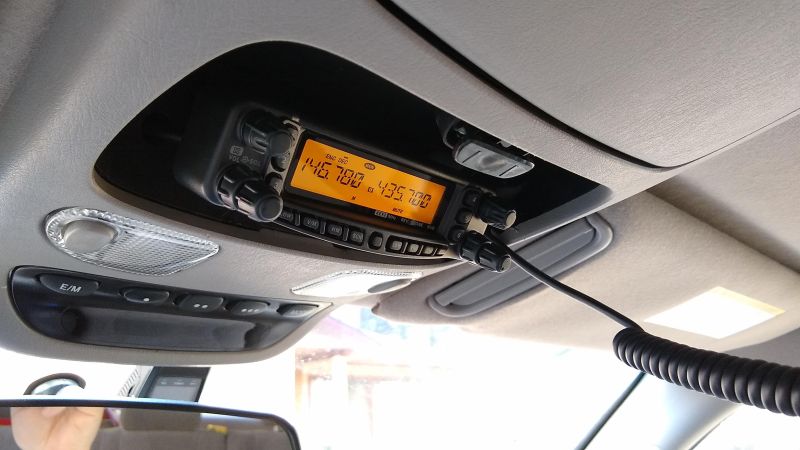
Planning your install is probably the most critical step. Many mobile rigs come with separable faceplates, so that the radio itself can be trunk-mounted or installed under a seat, while the control head with the display and microphone can be placed where it’s easily used. This is a huge bonus when installing in a modern car where options for placing a large one-piece radio are limited; the small control head is far easier to wedge someplace and still be usable. In my case, I decided to remove one of the overhead storage bins in my 2004 Toyota Sequoia and install the head in its place, while the radio itself would go in one of the side pockets in the “way back.”
After planning where the parts will go, you’ll need to figure out how and where to run wires. Ham rigs take a lot of current — 7 to 10 amps on transmit is common — and they require a direct run to the vehicle battery with heavy-gauge wire. Don’t scrimp on this and try to tap into something under the dash like we used to do for installing an after-market stereo. Find a plug or grommet in the firewall and do it right. Fuses are a must. You do not want a 12-gauge wire running through the car acting like a fuse when something shorts out. Ask me how I know.
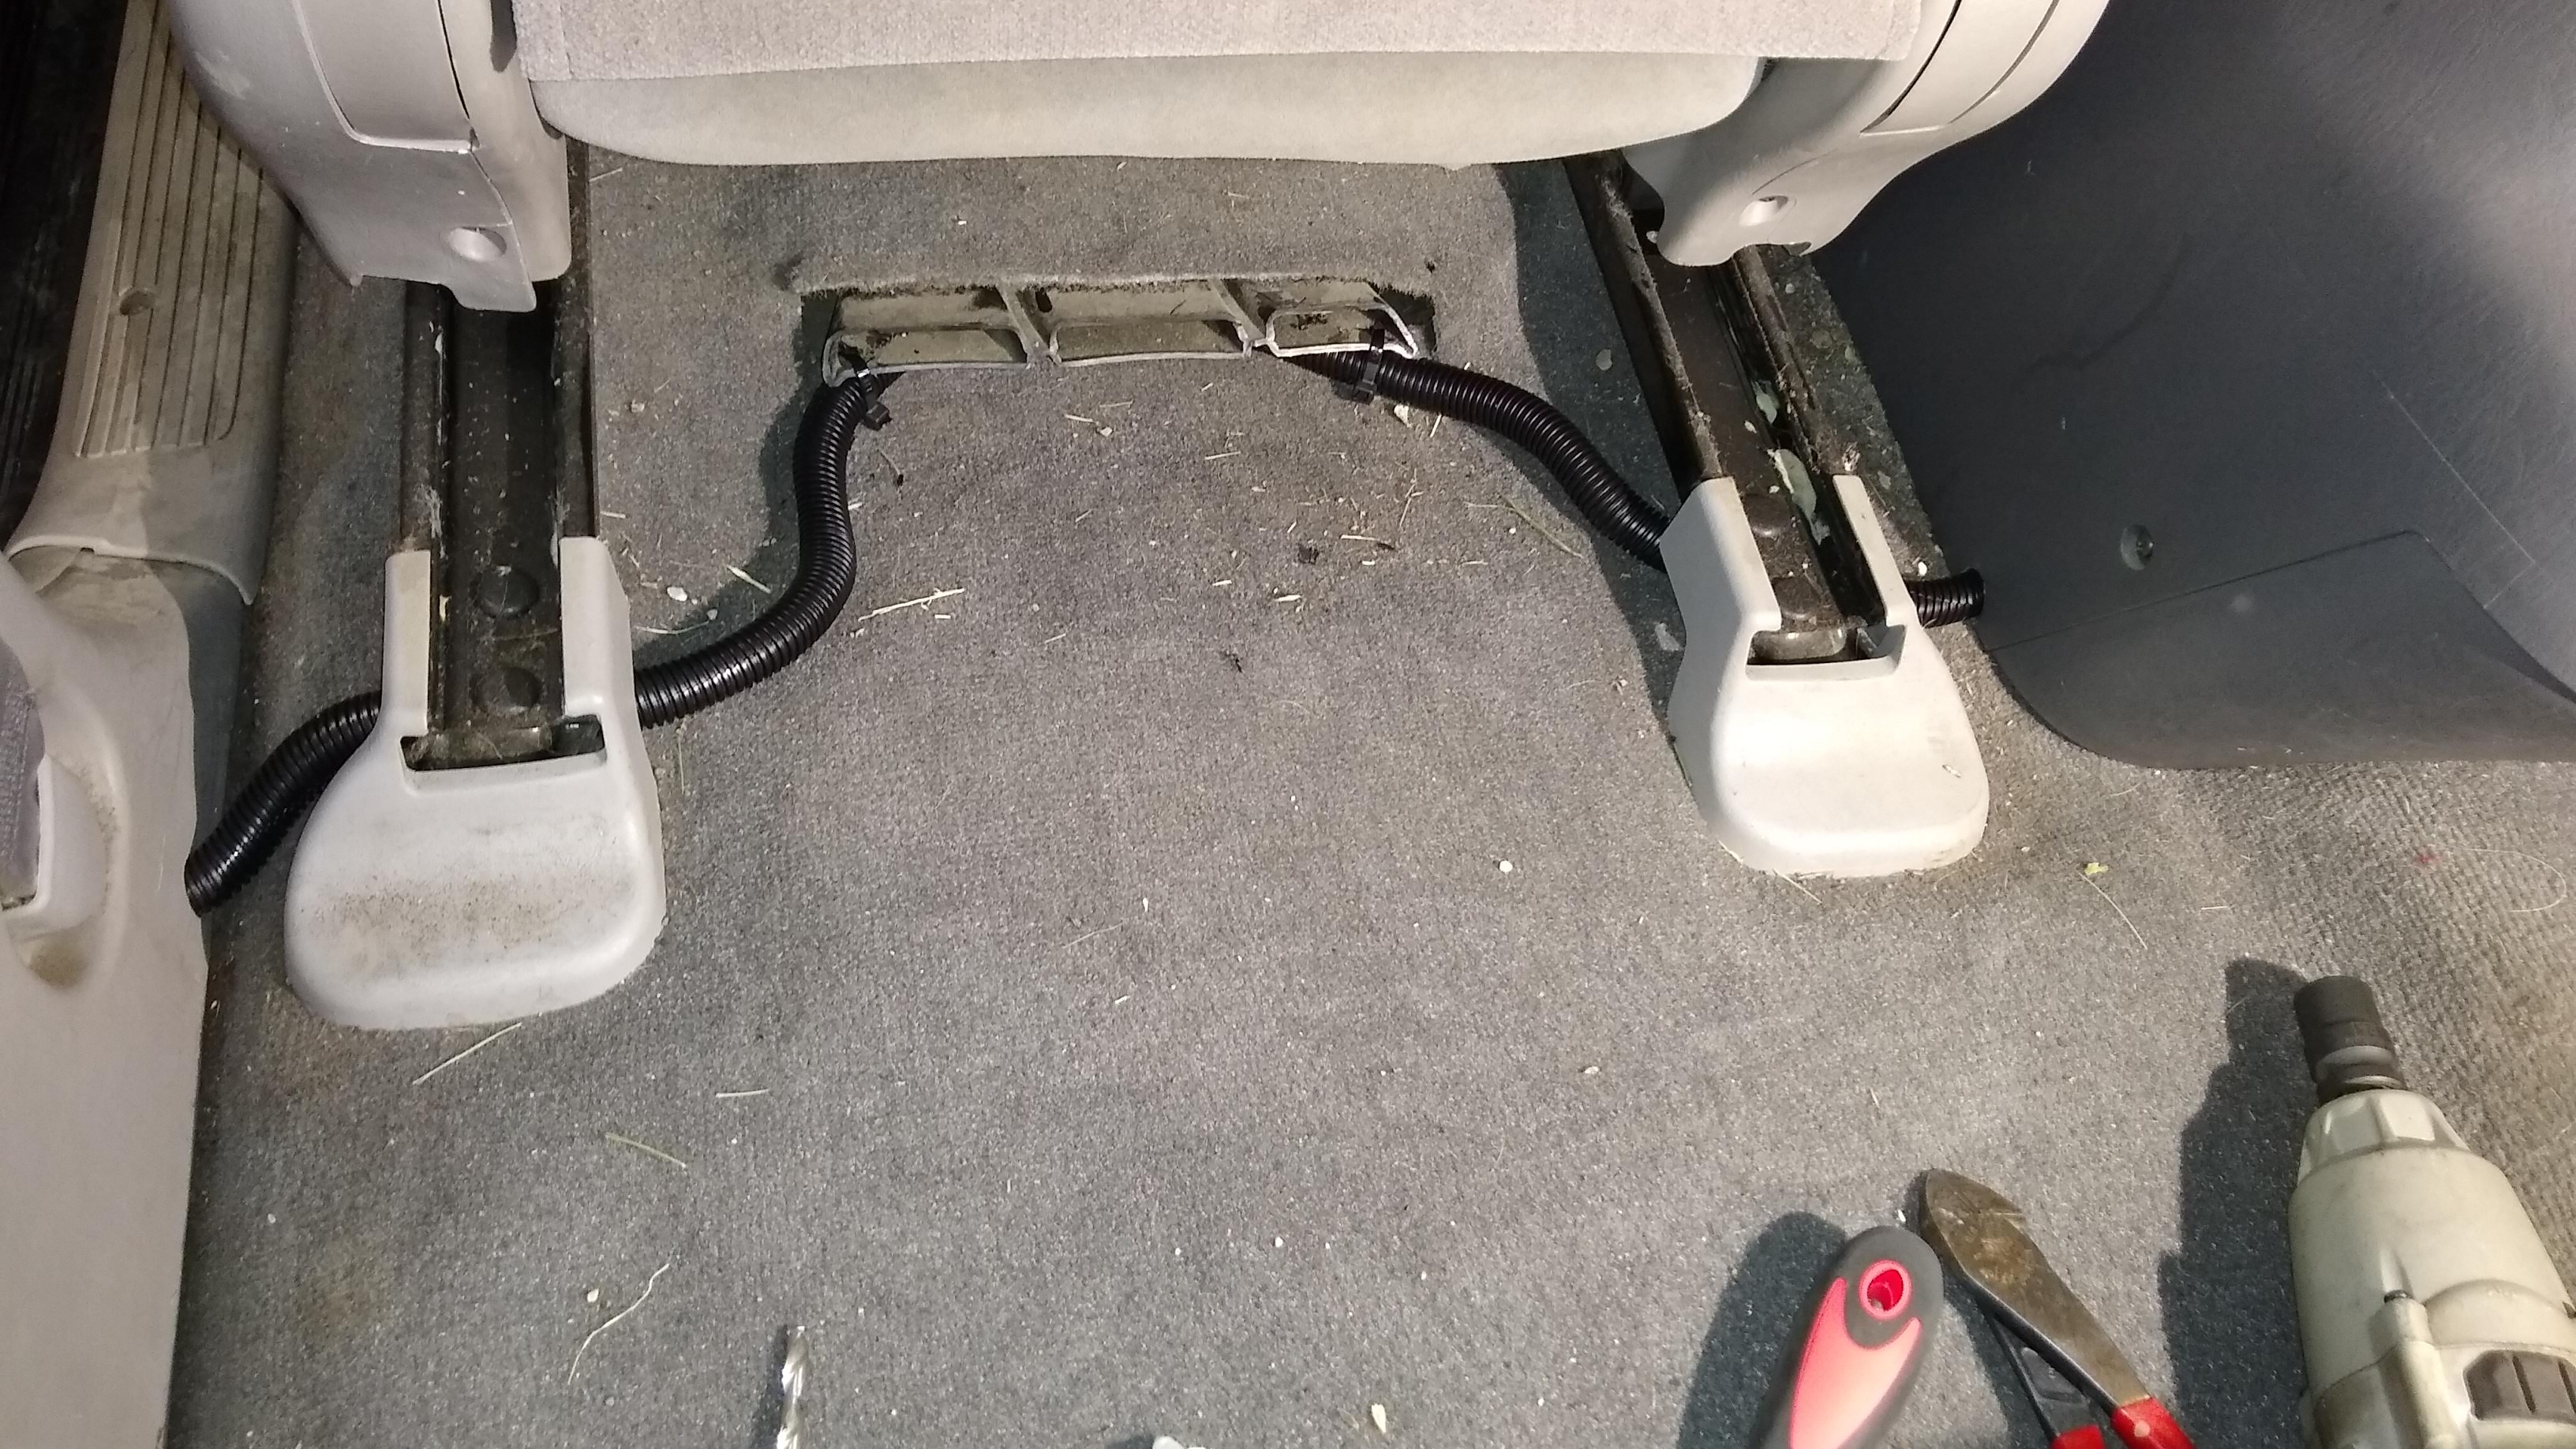
Physically protecting the power wires – all wires, for that matter – is really important too. Spend a couple of bucks on some corrugated plastic split-loom and wrap the wires up, especially in places where people are likely to step on them or kick them.
Neatness Counts
The nice thing about modern cars is there are plenty of concealed places to run wires. The bad thing is getting access to them. Almost every plastic trim piece in a car is held in place with some kind of plastic fastener that’s as likely to break as it is to release cleanly. Invest in a set of trim removal tools; these will give you a better chance at releasing these fasteners without breaking them or marring the finish of other pieces. Still, count on a 50% failure rate at this phase.

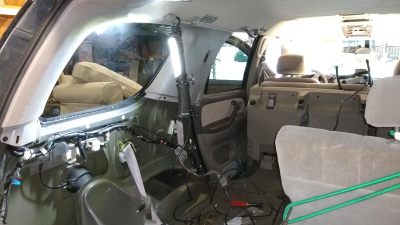
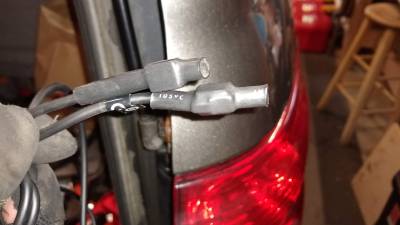
I managed to run my wires fairly easily. The wire for the control head went through the headliner to the trim piece on the “C” pillar (the third roof pillar from the front); while the power and remote speaker wires went under the rear passenger door sills and under the driver’s seat to the center console. I lucked out in that I had previously installed an inverter in the console, and so had very large-gauge wires already in place. I did take care to properly loom the radio’s wiring harnesses, though, and to use good crimp connectors installed with a proper crimping tool. I also made sure the fuses were easily accessible for replacement.

Next Time
Probably the most critical task in any mobile ham installation is dealing with the antenna. Not only must you spec out a proper antenna for the job, you’ve also got to mount it. That can be as simple as plunking down a magnetic base and screwing the antenna on, or as pucker-inducing as taking a hole saw and drilling through your roof. And even after that, there are other jobs, like tuning the antenna, testing the install, and mitigating any noise being induced by the car itself. Those can all be challenging jobs, and we’ll cover them in the next installment.
via Radio Hacks – Hackaday https://ift.tt/2Utg6Gs
No comments:
Post a Comment